A SMD reflow oven built in under 30 minutes for about a fiver.
Update - I am currently evaluating this toaster oven from CPC for larger boards...

 Ł5.49 from Sainsburys.
The horizontal toaster ovens more commonly used for SMT work just don't seem to exist in the UK.
 Surprised to find some
electronics inside for the timer - was expecting something more mechanical
Surprised to find some
electronics inside for the timer - was expecting something more mechanical
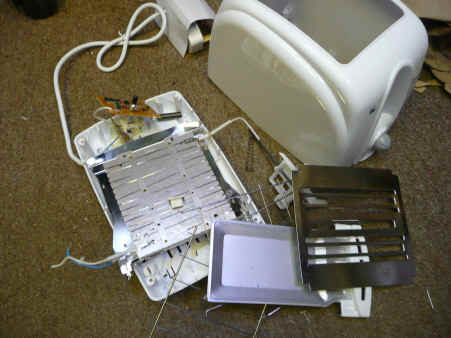
 Discard superfluous
parts... A pop-up SMD toaster is a really BAD idea, unless you want to scavange parts from
boards, in which case it might just work...
Discard superfluous
parts... A pop-up SMD toaster is a really BAD idea, unless you want to scavange parts from
boards, in which case it might just work...
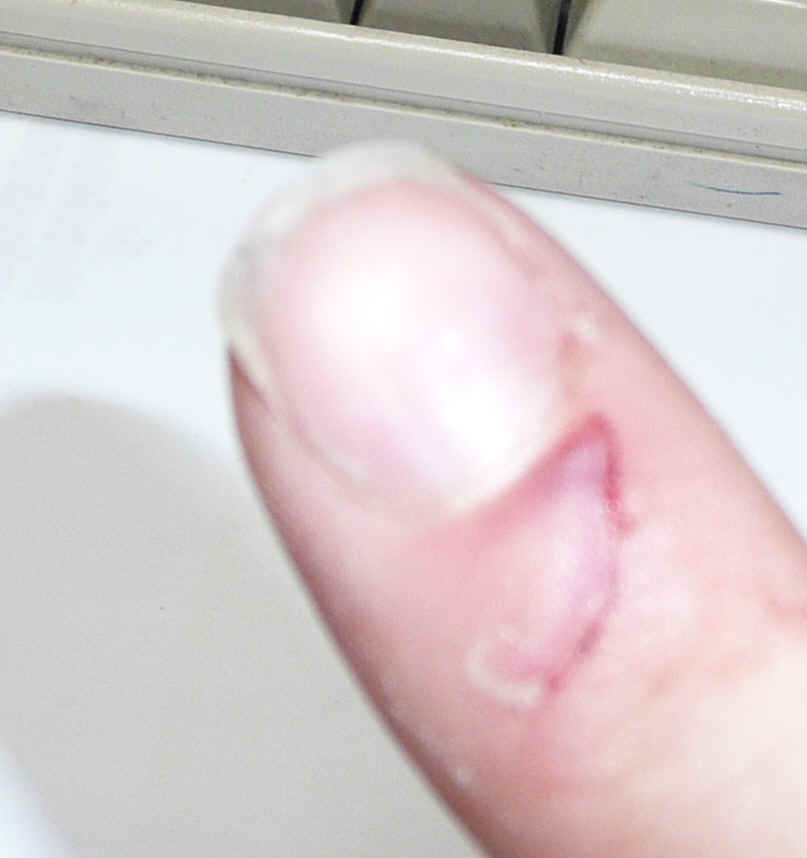
Beware of very sharp edges - This toaster viciously attacked me during dismantling. Bastard,

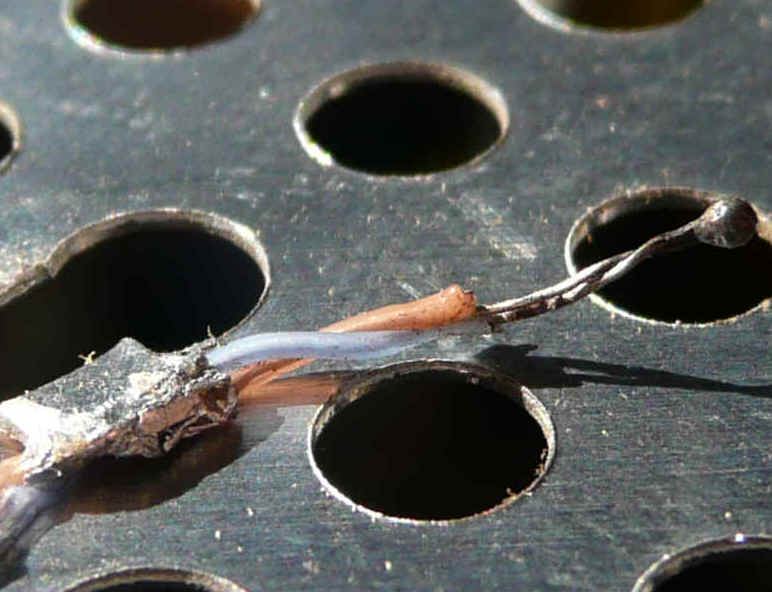 Small
thermocouple fixed to centre of underside of aluminium .'oven tray' for approximating
temperature, and variac for control.
Small
thermocouple fixed to centre of underside of aluminium .'oven tray' for approximating
temperature, and variac for control.
Variac is overkill but I had it to hand. A suitably rated (~700W) triac type dimmer, e.g. stage/disco lighting dimmer, motor speed controller etc. would do just fine.
Watch out for the element wires bending upwards as they expand when hot - 240VAC and SMT boards are rarely a good mix. Not to mention probably flammable solder paste vapours.
Perforated thin aluminium sheet was the shield from an old CRT monitor. Not sure to what extent the holes help or hinder - probably help a bit with airflow.
Keep it thin so thermal mass is low, but not so thin it sags. About 1mm. Low thermal mass gives a fast heat/cool time. The complete soldering cycle from cold is <2 mins.

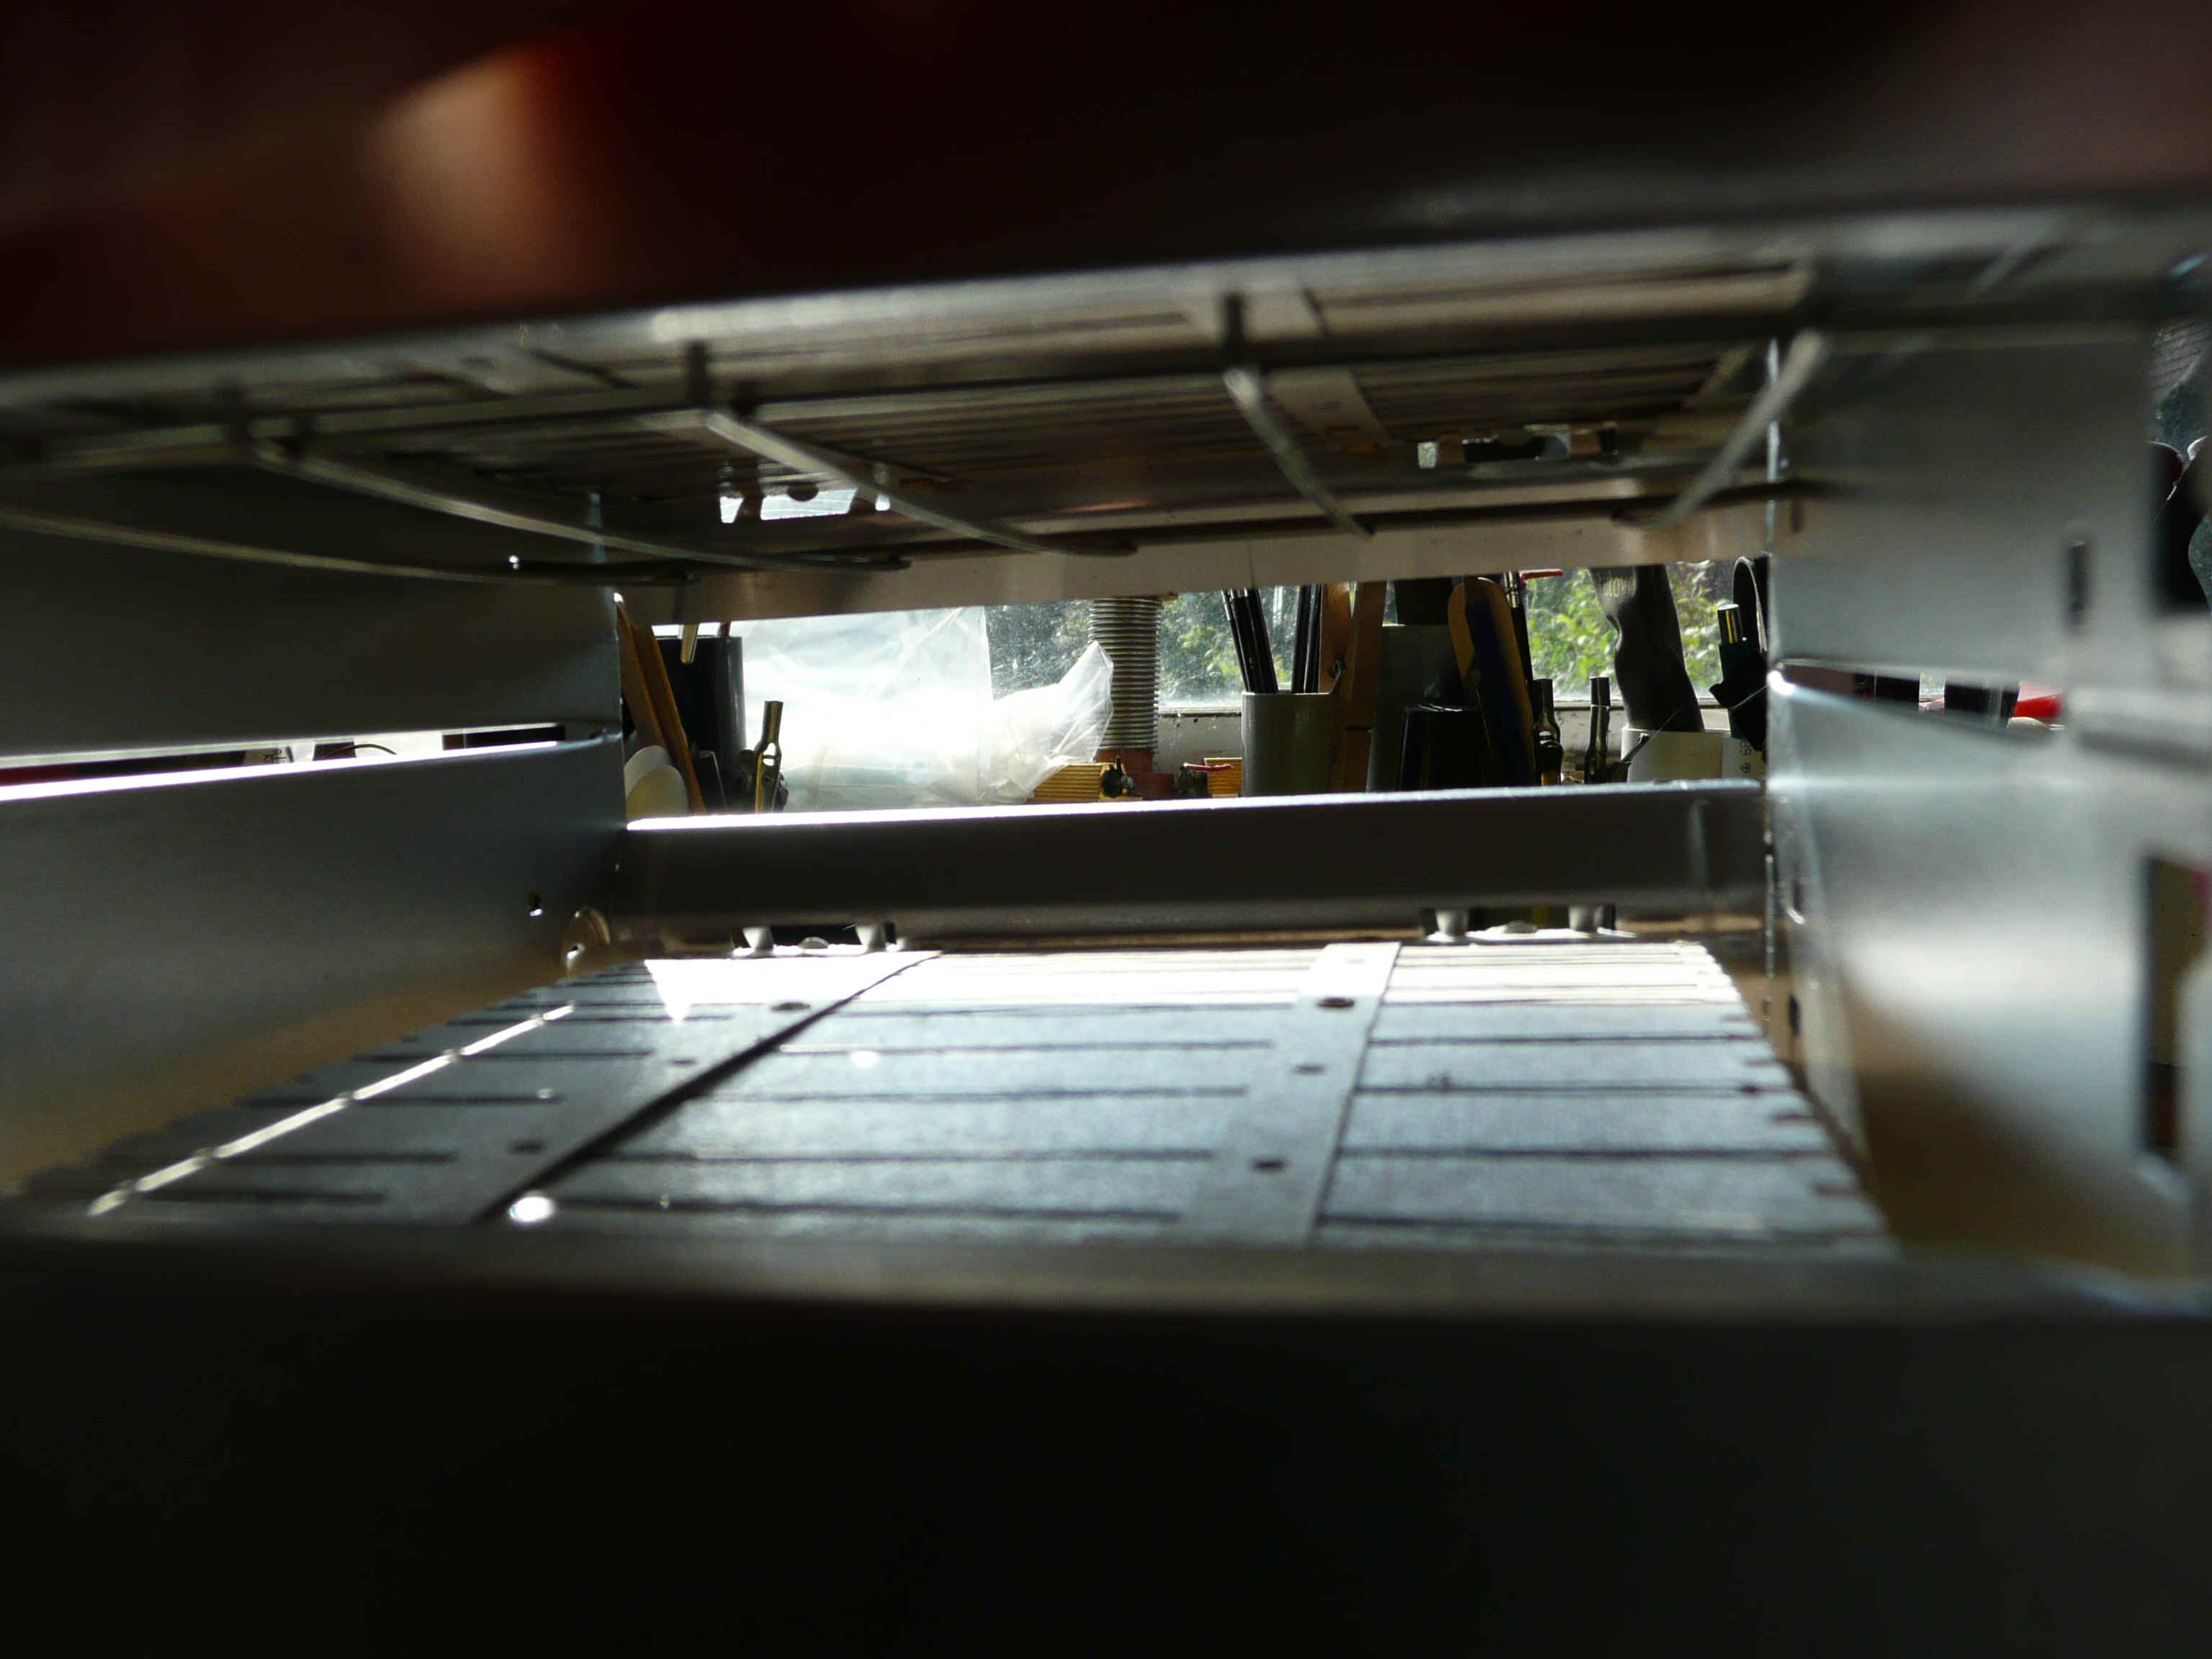 The
top and centre elements are used. No particular need to remove the bottom one, but it
should be disconnected.
The
top and centre elements are used. No particular need to remove the bottom one, but it
should be disconnected.
The lower wire toast guide was removed to allow the tray to sit flat.
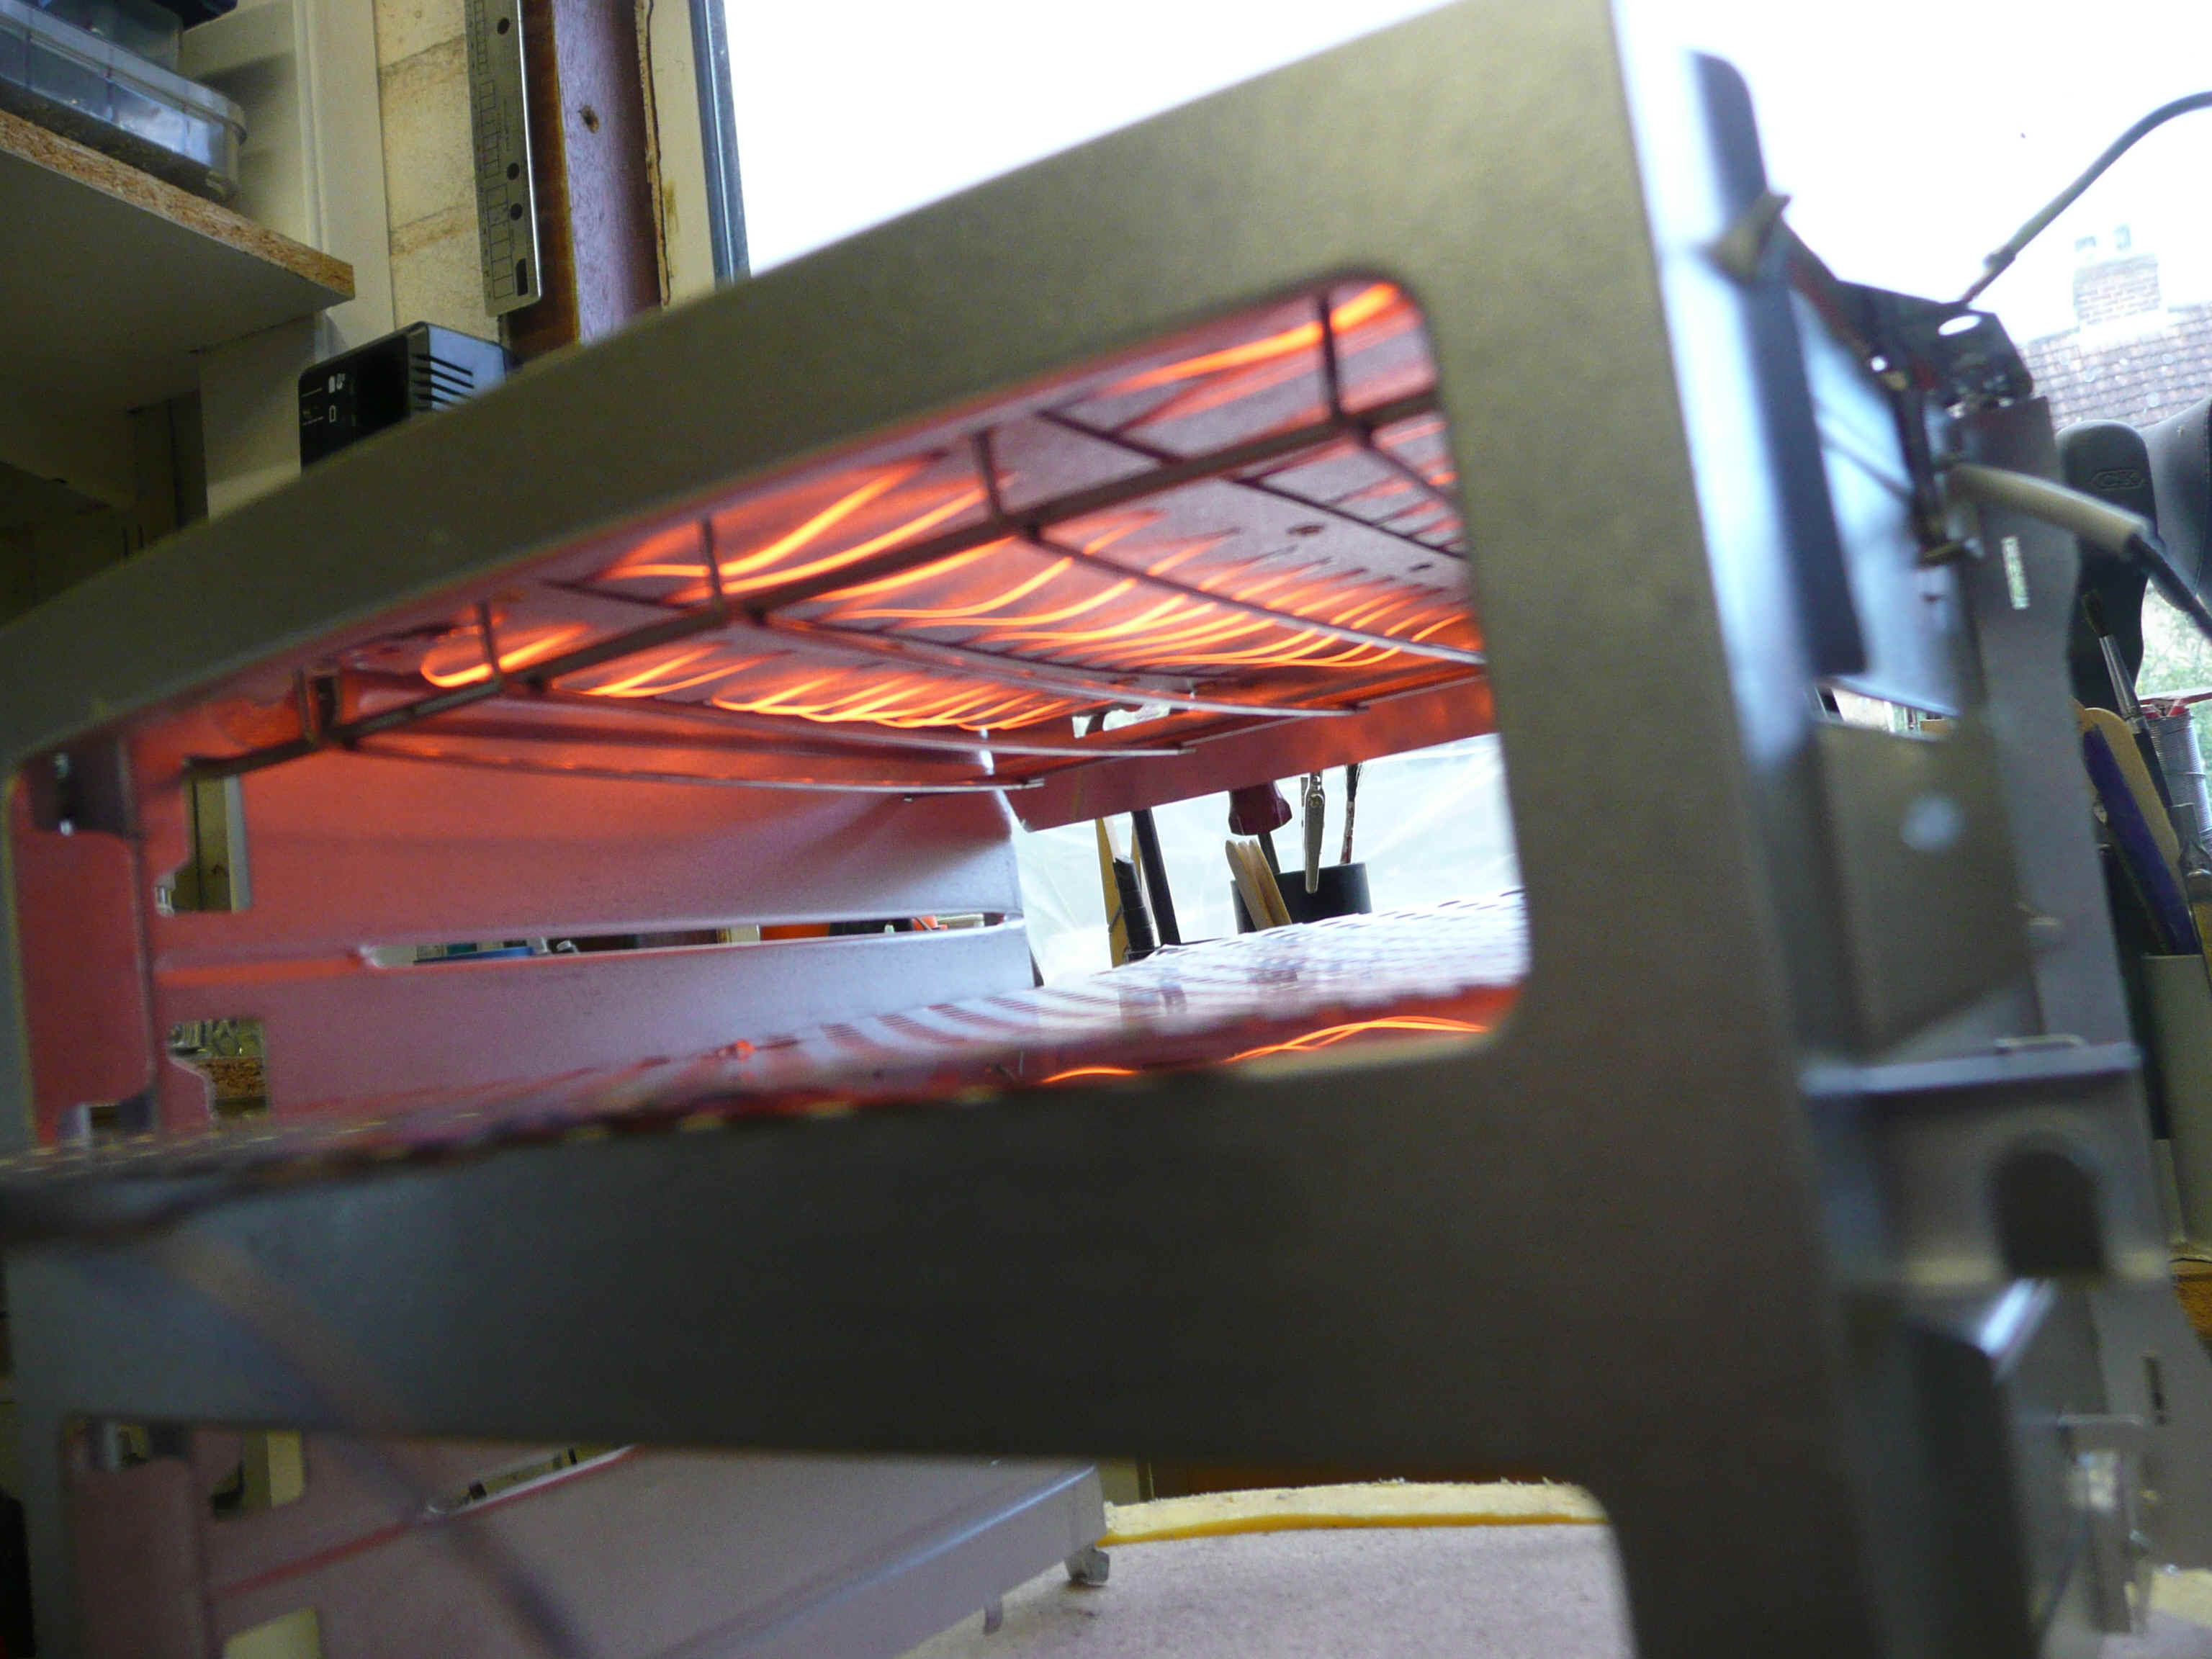 This setting is known as WAAAY TOO HOT! (unless you want to make some toast).
But useful for quickly preheating the ali. plate. Watch for those bendy (live) bits.
 Oven-ready : all
pasted & placed - no need to be super-accurate on placing chip components as the paste
will suck them onto the pads during reflow. Fine-pitch parts have a few pins tacked down
to avoid slipping
Oven-ready : all
pasted & placed - no need to be super-accurate on placing chip components as the paste
will suck them onto the pads during reflow. Fine-pitch parts have a few pins tacked down
to avoid slipping
Leaded paste of course - no point in risking the higher temps for that leadfree nonsense for prototypes.
 Preheat to 150 deg, cook for about 1 min, then increase to about 230 til you
see solder flowing, then turn off and allow to cool. Gentle blowing across board speeds
cooldown.
Preheat to 150 deg, cook for about 1 min, then increase to about 230 til you
see solder flowing, then turn off and allow to cool. Gentle blowing across board speeds
cooldown.
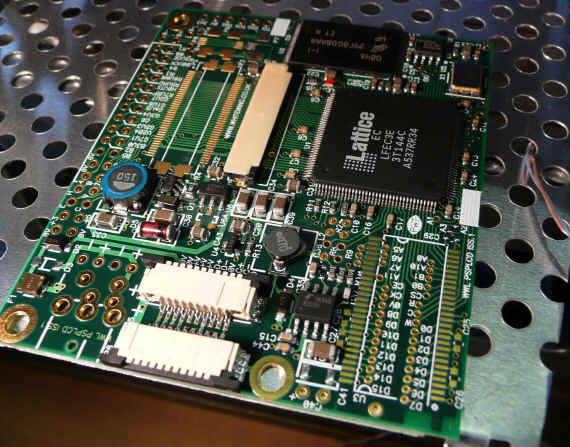 Fresh out of the
oven. mmmm tasty!
Fresh out of the
oven. mmmm tasty!
Didn't even melt the FFC connectors! (YMMV!)
 A few shorted pins on
the 0.5mm pitch packages, easily cleaned up with braid.
A few shorted pins on
the 0.5mm pitch packages, easily cleaned up with braid.
 I used a plastic
stencils from www.http://www.smtstencil.co.uk/.
I used a plastic
stencils from www.http://www.smtstencil.co.uk/.
Apertures for 0.5mm pitch looked a bit marginal, but actually seem to solder fine - I initially used a solid line along the pin row instead, which is why I get a few solder bridges. I tried the fully-cut stencil and all pins turned out fine (left)
More info on stencilling here.
 When building
several boards, sticking all the SMD strips to small bits of thin MDF with thin
double-sided tape makes pick&place a LOT quicker & easier. By using seperate bits
of MDF, you can put each one next to the PCB while placing then move the next one in,
reducing the required reach.
When building
several boards, sticking all the SMD strips to small bits of thin MDF with thin
double-sided tape makes pick&place a LOT quicker & easier. By using seperate bits
of MDF, you can put each one next to the PCB while placing then move the next one in,
reducing the required reach.
Use a foot-operated vaccuum tool. Not those useless finger-operated pump things ( although these are useful donors for a homebrew vacuum pickup) - you need continuous vascuum flow to cope with leaky tips. Once you have continuous airflow, you can use standard stainless dispensing nozzles for pickup - no need for the little rubber sucky things for small parts.